
Although eXoSpace is designed to be moddable, you do so at your own risk. There will be bugs, and things may be unpolished and undocumented. It is highly recommended you join our Discord server, where you can discuss with other modders, report bugs and suggest improvements.
Some important file system locations:
C:\Program Files (x86)\Steam\steamapps\common\eXoSpace\game_data. Here I reference this location with game_data.game_data/logs. Whenever the game crashes or your mod does not work as expected, check the log file(s) here. Only the logs of your last run are available.game_data/mods. The modders tools can create a new folder with contents for you here.To start creating your own eXoSpace mod, you need to activate the "modders tools" in the game. You need to navigate to the game_data folder by right-clicking the game in the library and choosing "Manage" -> "Browse local files". Then open settings.json in your favorite text editor. Add a line "modders_tools": true to the file, and add a comma if it is not the last line.

The next time you start up you should see a new main menu option "Modding tools". This is your entry point to modding eXoSpace:
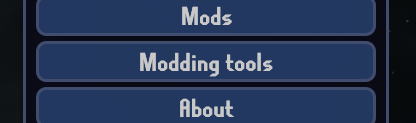
The modders tools are several built-in tools that I use during development, and that you can use to add e.g. parts, encounters or special effects. Start creating a new mod by clicking "Create new mod".
The ID you enter here becomes the directory name of the mod, the Name is what is visible in the user interface. What you enter here will be written to description.json.
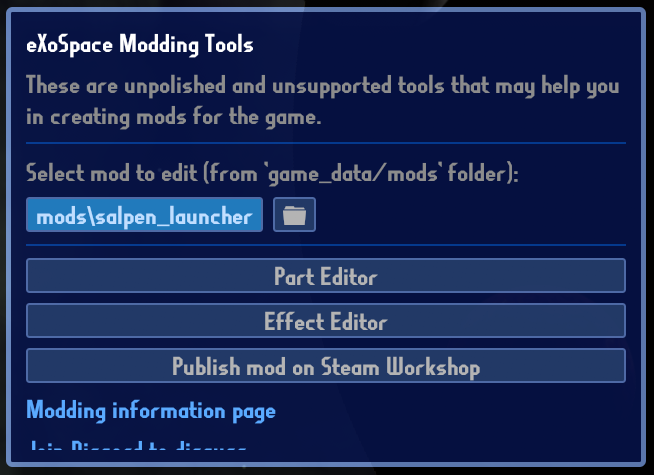
After you click "Create" a new directory will be created in game_data/mods with your empty mod in it. Click the folder icon next to your new mod to open the directory, so you can e.g. place new part images in them.
The mod that is selected in this screen will be used throughout the game to write modded files such as ships, encounters and more to.
All mods should have a description file (description.json) and preview image (preview.png). This image will show as the mod's icon on Steam Workshop.
The following files and directories can be added:
parts: new or updated part images. projectiles: new or updated projectile images.ships: new ship designs.factions: new factions.arenas: new arenas.encounters: new encounters for in existing missions or new ones.missions: new missions containing your own modded encounters, ships and factions.lang: new or updated language files (e.g. jp.json).fonts: alternative fonts to use for other languages (referenced in the language json file).sounds: .wav sound files used by the parts, e.g. weapon firing.effects.json: description of particle effects (best edited using the in-game modders tools).parts.json: part definitions (best edited using the in-game modders tools).sImages and sounds are loaded on startup, so after adding or updating part images you will have to restart the game.
Images for new parts must be placed in the my_mod/parts directory as PNG files. The images are colored different from what you would normally expect:
Weapons always have a main image, a "muzzle" image and a "turret" image. The main image is rendered on the bottom, the muzzle in the middle (and may move because of weapon knockback), and the turret on top (which rotates together with the muzzle).
To actually add the part definition, use the "Part Editor" in the modding tools.
You can override built-in parts by copying parts of the game_data/parts.json file to the game_data/mods/my_mod/parts.json file. The graphics can be overridden by giving the image files the same name as the built-in ones.
Individual player-made ships can be added to the mod by clicking "Add to mod [name]" in the sandbox sidebar when the ship is selected.
Factions, and all their player-made ships, can be added to the mod by clicking "Add to mod [name]" in the faction view bottom bar.
These can be added and edited in the modding tools screen.
Once you are done, you can publish your new mod on the Steam Workshop using the "Publish mod on Steam Workshop" button in the modders tools.
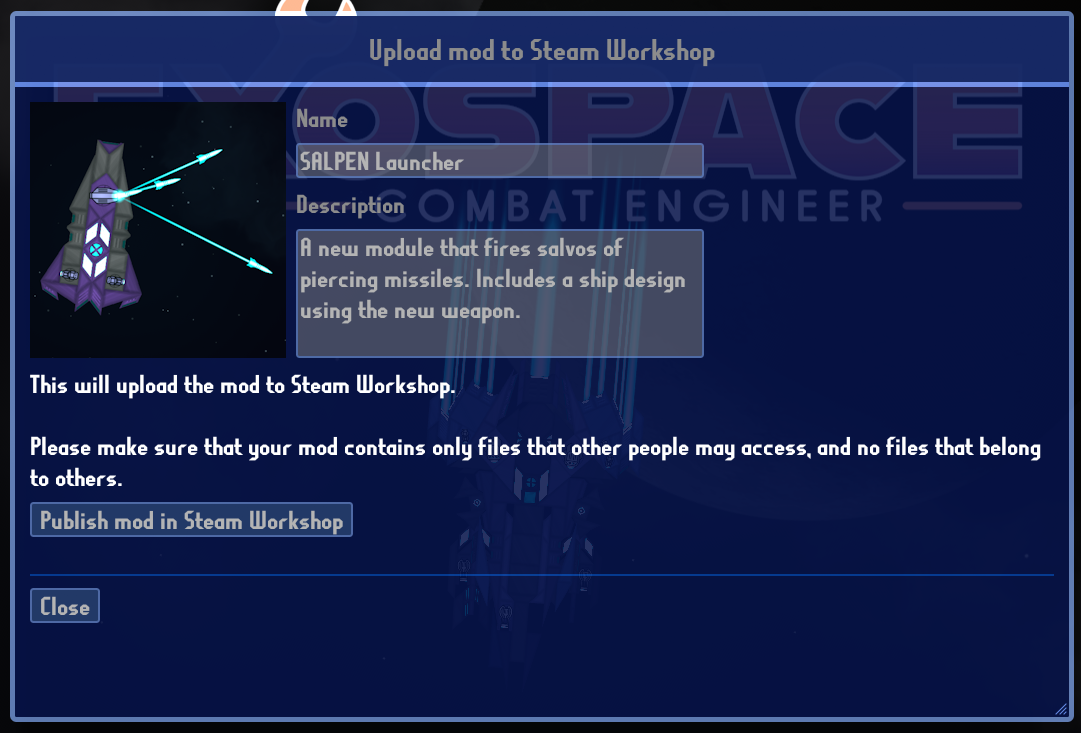
This opens the upload pop-up. You can change files in the mod (such as the preview image) before starting the upload if you like.
In the popup you get you can:
After uploading the mod, a reference to the Steam Workshop item will be saved in the mod's description.json. The next time you open the popup, after uploading the mod, you will be able to update the mod instead of publishing it as a new mod.
Copyright 2025 Bas @ Fantastimaker
eXoSpace Combat Engineer End User Licence Agreement


